
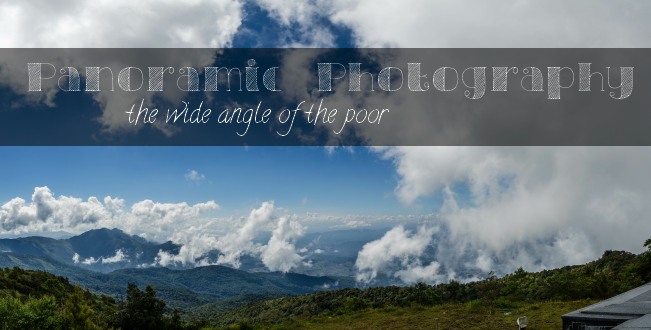
As you already know, besides solo traveling, one of my other passions is photography. It is a lovely hobby specially when you travel a bit, but let’s be honest, it is not the cheapest one. Like I had said before, there is one lens that is the best one to capture landscapes: the wide-angle. It is capable of taking pictures where you can get plenty of components, the problem? It’s price. Here I will explain you a little bit about how to imitate the effect of this lens with a usual kit lens: by doing panoramic shots.
So what’s a panoramic shot?
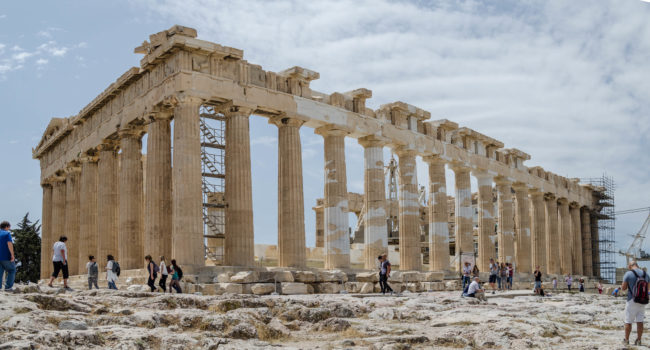
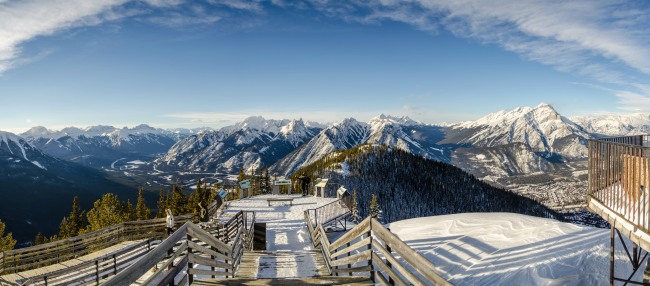
A panoramic shot is a shot in which you have extremely wide horizontal fields. A wide angle lens is a fantastic objective to travel. Any time you want to capture a nice landscapte, that’s your lens. Whenever you have a huge building that you want to fit on a single shot. The same. But… they are extremely expensive. A good wide angle lens can easily pass the four hundred euros.
Check out this post: Best lenses for travel photography
So, if you are not in the rich part of the spectrum, you will most likely think twice (or ten times) about spending such a big amount of money on a single lens. Yes, it will be great but you will end up carrying even more weight in your camera bag. And how far can a plane can take you for that money? If any of these reasons seem valid enough for you, well, keep on reading.
How to do a panoramic shot
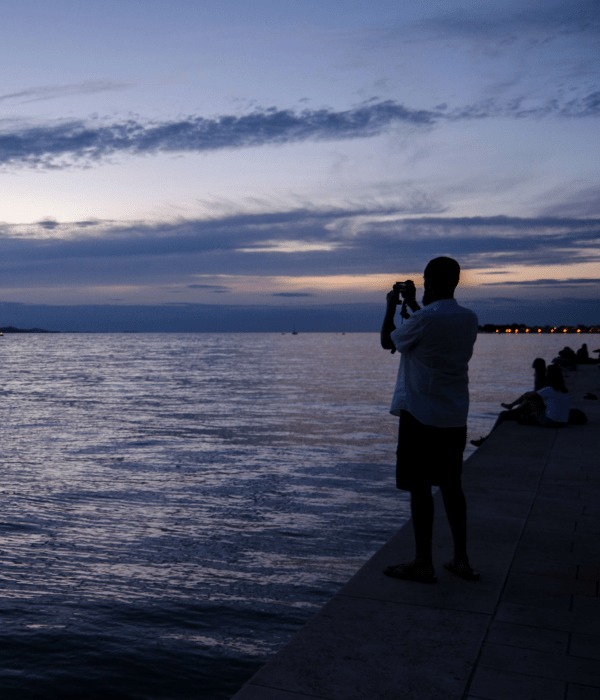
Most of modern phones come with a nice feature that allow you to get a panoramic shot just by moving your camera. And if you don’t have one you can always get an app that will do it. But honestly, the quality of these shots is quite low. The nicest way to do this is with your usual DSLR or any good camera you have nearby.
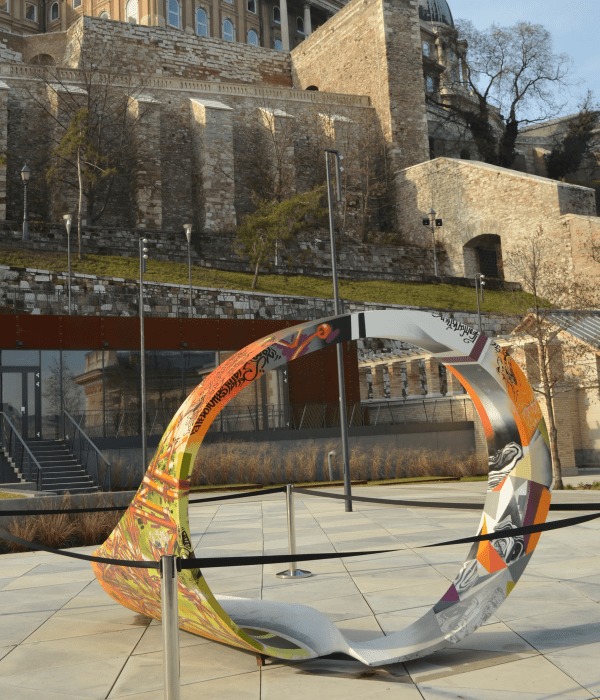
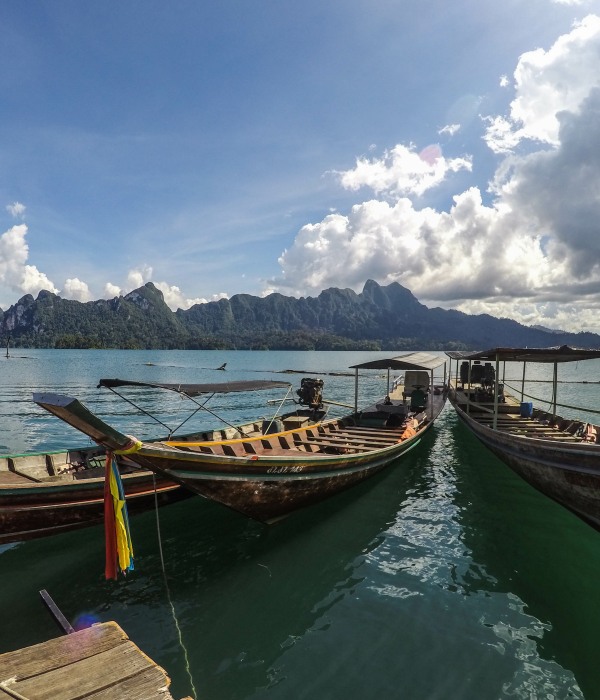
Let’s say that you want to have a picture of a very nice landscape. The first thing to do is set the parameters of the camera while pointing somewhere in the picture that is not too bright or too dark, or two close or too far. We can just say something in the middle (not literally). Then, with your camera in full-on manual so that the parameters don’t change, go and take a series of shots following a fan pattern with at least a quarter of the picture overlaping with the next. Something like this:

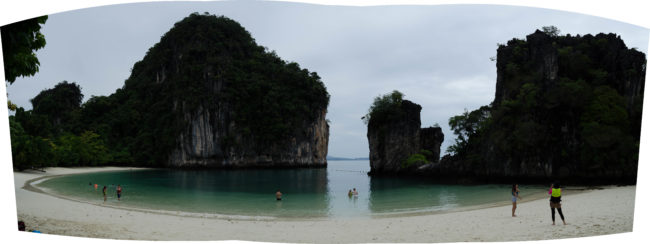
Once you have the pictures taken, the computer processing part starts.
There are many programs out there that can be used to mount the images into your fantastic panoramic shot. I personally use Lightroom, from the family of Photoshop. It’s a great software but you have to pay for it yearly. It’s best feature is that you can combine the pictures on RAW and still process them afterwards. Another also good option for free is Hugin. It requieres a less powerfull computer and the options to combine the shots into a panoramic photography are much wider. With any of these programs you just need to select the pictures and mount them into your big fat panoramic shot. The more pictures you combine the more resources it will need. Big panoramas can crash a normal computer easily, so don’t go too wild!
And then what
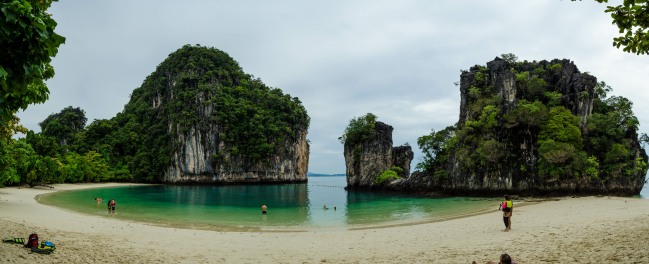
The only last thing that is left to do is to touch up a little bit the parameters of the photo and voilà! There you have your cheap panoramic photography. With a little bit of practice no one will be able to tell the difference!
Did you like this post? Pin it!


Interesting article. I made some panoramic photos during my trips but had no idea what to do with them.
x
Well it is an easy way to get nice shots that otherwise would be a bit more expensive. If you can download Hugin you will see how many things you can manage to get to do with them! An if you have any question I am here =) !